Welcome to the exciting world of WordPress, where websites come alive and digital possibilities know no bounds. One of the key features that has revolutionized WordPress development is the REST API.
In this guide, we will delve into the realm of WordPress REST API, exploring its significance and demonstrating how to enable WordPress REST API.
Whether you’re a seasoned developer or a curious WordPress enthusiast, this guide will equip you with the knowledge and skills to tap into the full potential of the WordPress REST API.
But first, let’s uncover what exactly the REST API is and why it has become a game-changer in the world of WordPress development.
Table of Contents
What is WordPress REST API
Before we delve into the process of enabling the WordPress REST API, let’s first understand what it is and how it works.
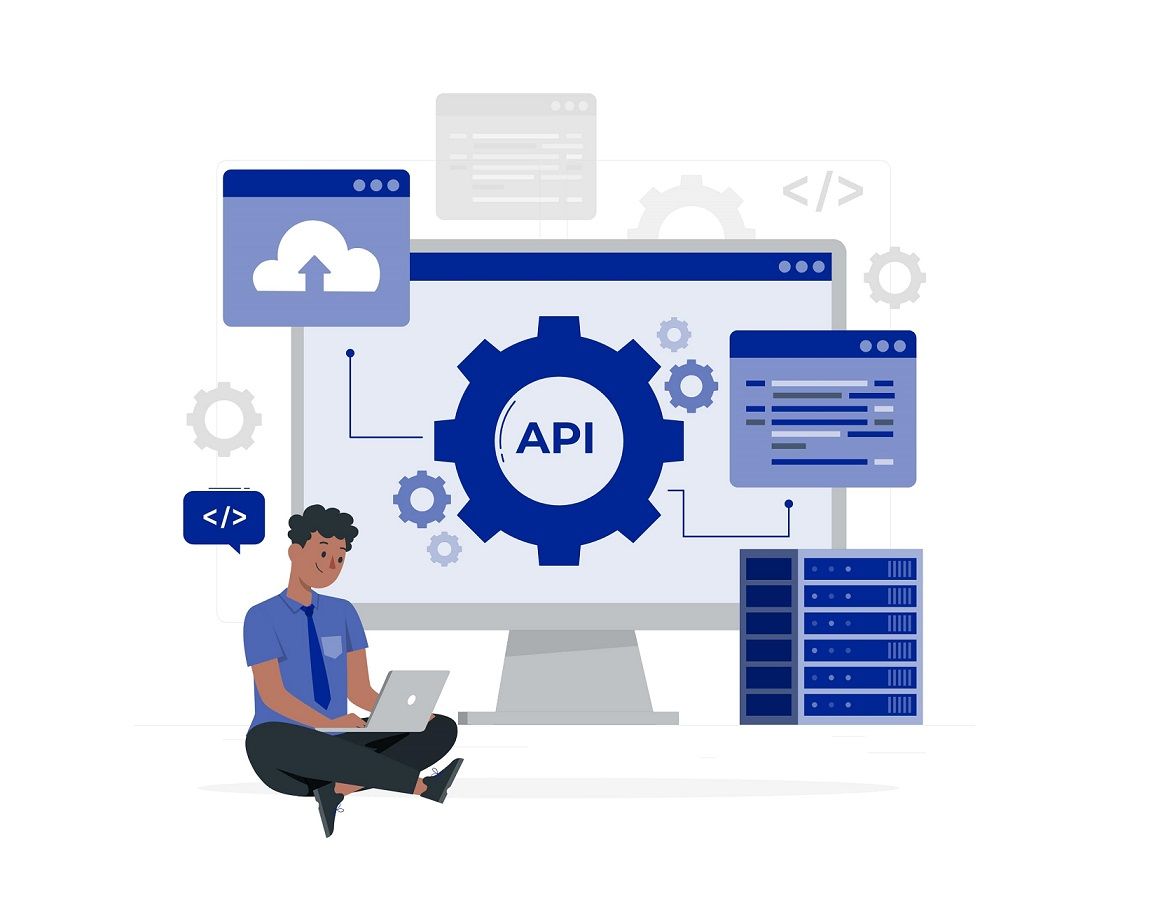
The WordPress REST API is a set of endpoints that allow you to access and manipulate your WordPress site’s data using HTTP requests. It provides a standardized way to interact with WordPress, making it easier to integrate with external applications and services.
WordPress REST API allows you to perform various operations on your website remotely, such as creating, reading, updating, and deleting content. By enabling the REST API, you can integrate your WordPress site with other applications, build mobile apps, create custom plugins, and more.
Benefits of Enabling the WordPress REST API
Enabling the WordPress REST API opens up a world of possibilities for your website. Some of its key benefits include:
- Easy integration with third-party applications and services.
- Building mobile apps and other client-side applications that interact with your WordPress site.
- Creating custom dashboards and interfaces for managing WordPress content.
- Automating content publishing and updates.

How to Enable WordPress REST API
WordPress REST API allows developers to interact with WordPress sites remotely using HTTP requests. It provides a way to access and manipulate WordPress content using standard HTTP methods like GET, POST, PUT, and DELETE. Enabling the WordPress REST API is a straightforward process. Let’s dive into the steps to enable it:
Step 1: Install and Update WordPress
Make sure you have the latest version of WordPress installed on your website. It’s crucial to keep your WordPress installation up to date to ensure compatibility and security.
Step 2: Check REST API Availability
By default, the WordPress REST API is enabled on all new WordPress installations. However, it’s essential to verify its availability on your website. You can do this by making a simple API request or using a plugin like the WP REST API plugin.
To verify the REST API availability, open your web browser and enter the following URL:
https://yourdomain.com/wp-json/wp/v2/
Replace “yourdomain.com” with your actual domain name. If the REST API is available, you should see a JSON response with information about your website’s posts.
Step 3: Modify REST API Permissions (Optional)
By default, the REST API allows public access to retrieve content. If you want to restrict or extend these permissions, you can utilize plugins or custom code snippets. Plugins like “REST API Permissions” offer granular control over who can access the API and what actions they can perform.
Testing the REST API
After enabling the REST API, it’s essential to test its functionality. You can use various tools like cURL, Postman, or simply a web browser to make API requests. For example, to retrieve a list of posts, you can send a GET request to https://yourdomain.com/wp-json/wp/v2/posts.
Securing the REST API
While the REST API provides powerful capabilities, it’s important to secure it to prevent unauthorized access and potential security vulnerabilities. Here are some best practices:
- Use strong authentication mechanisms like OAuth 2.0 or JSON Web Tokens (JWT) to authenticate API requests.
- Implement rate limiting to prevent abuse and distributed denial-of-service (DDoS) attacks.
- Apply SSL/TLS encryption to ensure data privacy and integrity during API communication.
- Regularly update WordPress, themes, and plugins to patch security vulnerabilities.
Best Practices for Using the REST API
To make the most of the WordPress REST API, consider the following best practices:
- Optimize API requests by fetching only the necessary data.
- Leverage caching mechanisms to improve performance and reduce server load.
- Follow consistent naming conventions and structure for your API endpoints.
- Implement error handling and provide informative error messages to API consumers.
- Document your API endpoints and provide examples to facilitate integration for developers.
Integrating Plugins with the REST API
Many popular WordPress plugins extend the functionality of the REST API. For example, the WooCommerce plugin integrates with the REST API to provide e-commerce capabilities. Before integrating a plugin with the REST API, ensure it supports the API and follows best practices for security and performance.
Extending the REST API
You can extend the WordPress REST API to add custom endpoints and functionalities tailored to your specific needs. WordPress provides hooks and filters that allow developers to modify existing API routes or create new ones. By extending the REST API, you can create unique experiences for your users and integrate with external services seamlessly.
Common Errors and Troubleshooting
While working with the WordPress REST API, you may encounter some common errors. Here are a few examples and possible solutions:
- 401 Unauthorized Error – Check your authentication credentials and ensure they are correct.
- 404 Not Found Error – Verify the endpoint URL and make sure it corresponds to an existing route.
- 500 Internal Server Error – Check for server-side issues, such as misconfigured plugins or conflicting code.
If you encounter an error, refer to the WordPress REST API documentation or search for specific solutions related to the error message you receive.
FAQs
Can I disable the WordPress REST API if I don’t need it?
Yes, you can disable the REST API by utilizing plugins or custom code. However, keep in mind that some plugins and themes may rely on the REST API for their functionality.
Is the WordPress REST API secure?
The WordPress REST API itself is secure. However, it’s crucial to implement additional security measures like authentication, rate limiting, and SSL/TLS encryption to protect your API endpoints and prevent unauthorized access.
Can I create custom endpoints with the REST API?
Yes, you can extend the REST API by creating custom endpoints using hooks and filters provided by WordPress. This allows you to add new functionalities tailored to your specific requirements.
Are there any performance considerations when using the REST API?
To ensure optimal performance, make sure to optimize your API requests by fetching only the necessary data, leverage caching mechanisms, and follow best practices for efficient coding.
Can I integrate the REST API with mobile apps?
Absolutely! The REST API provides a convenient way to integrate your WordPress site with mobile apps. You can fetch content, create posts, manage user profiles, and perform various other operations through the API, enabling seamless integration with your mobile app.
Conclusion: How To Enable WordPress REST API
In conclusion, Enabling the WordPress REST API unlocks a plethora of opportunities to enhance your website’s functionality and integrate it with various applications and services.
By following the simple steps outlined in this guide, you can enable the REST API on your WordPress site and leverage its power to create innovative solutions, automate tasks, and streamline your content management process.
So, what are you waiting for? Harness the power of the WordPress REST API and take your website to new heights of efficiency and interactivity.
NordVPN New Sales 30% OFF!!!
Save 35% On Tools Tailored For Your Amazon Business
Read Redirect Posts
If you’re looking for more redirects post, check out our following posts:
- How To Redirect To Another Page In HTML
- When Would It Be Necessary To 301 Redirect?
- 11 Best WP 301 Redirect Plugins For Improved SEO
- Best 404 Redirect WordPress Plugin: Everything You Need to Know
- How To Make A Redirect Link In WordPress: A Step-by-Step Guide
- How To Install Link Redirect Trace On Firefox And Chrome
- What Does 404 Page Not Found Mean? Understand The Error
- 301 Redirect In PHP: The Key To Maintaining Your Website’s SEO


